Thursday, January 14, 2021

Singing the Praises of the Minolta SR-T 202

Uncle Jonsesy's Minolta SR-T 202
I was doing my daily read through of blog posts that my RSS reader (Feedly) collects for me when I came to a post on the Casual Photofile site by Josh Solomon entitled, "The Ten Best Mechanical 35mm Film SLRs Ever Made." Because I love to read articles like this ("The Ten Best of Whatever") and also because I value the thoughtful and researched opinions of others, I clicked on the link and read the post. However, honesty compels me to say that I had another motive. I wanted to see if Uncle Jonesy's Minolta SR-T 202 was on the list. And the answer is . . . yes! Technically, the author chose the SR-T 102 as one of the ten best mechanical film SLRs ever made, but the SR-T 202 was the 102's successor and virtually the same camera, the mirror lock-up ability being the only feature that did not make it from the 102 to the 202. 

As I read the author's glowing assessment of this classic Minolta SLR, I beamed with pride. But what really caught my eye was when Mr. Solomon wrote this:

"For reasons unbeknownst to me, the Minolta SRT series always seems to get left in the lurch when it comes to the mechanical SLR discussion. This is the camera series that bestowed open-aperture metering to the masses, gave us our first taste of matrix metering with Minolta’s patented CLC System, and, in my opinion, comes closest to the feeling of shooting an M series camera in SLR form.

Did I really just write that last thing? Hell yeah I did, cause it’s true."

Wow, the Minolta SR-T is the SLR version of the Leica M series camera?! I've always wanted a Leica M, and now it turns out that I already own one, albeit in SLR form. Uncle Jonesy sure knew how to choose his camera! Solomon goes on to state:

"Sure, it’s bulkier and louder than the M camera (it’s also, you know, an SLR), but when it comes to feel and optics, the SRT series reminds me most of my M2 (save for just one other camera). The control layout is nearly exactly the same, the advance lever is just as buttery (looking at you, Olympus OM-1), and the optics are some of the finest in 35mm photography. Any doubters to Minolta’s optical and manufacturing prowess can take it up with Annie Leibovitz, W. Eugene Smith, and, well, Leica themselves. Minolta knew what they were doing, and should never have been underestimated – not then, not now, not ever."

As I read these words, I looked from my iPad to the shelf where Uncle Jonesy's SR-T 202 proudly sits and thought to myself, "What am I doing?! I must get this camera off the shelf and make it do what it was built to do." And the very fact that, almost fifty years after it was assembled, it not only can do that but also do it well is a testament to how great these SR-T cameras really are. In fact, whenever someone asks me what is the best camera for getting started in film photography, I always suggest any of the Minolta SR-T cameras, particularly the 101, 102, 201, and 202. Even if the meter is non-functional, the rest of the camera probably will work just fine (and not having a meter might be better in the end.)

So, even though I have been drawn to using an autofocus camera lately, I have a feeling the my SR-T 202 is going to get more use this year. And if you would like to know more about the camera, here are two reviews you may enjoy reading. The first one is from late 2018 and was written by Yours Truly for the excellent Kosmo Mono Foto blog. The second review is by James Tocchio for his equally excellent Casual Photofile website. 

Finally, if you want a Minolta SR-T series camera, you might want to act now. While they have been easy to find and quite affordable, a new movie on the work of photography W. Eugene Smith starring Johhny Depp may cause the price to go up.

Happy Shooting!

Monday, December 7, 2020

Pinhole Possibilities with PinBox

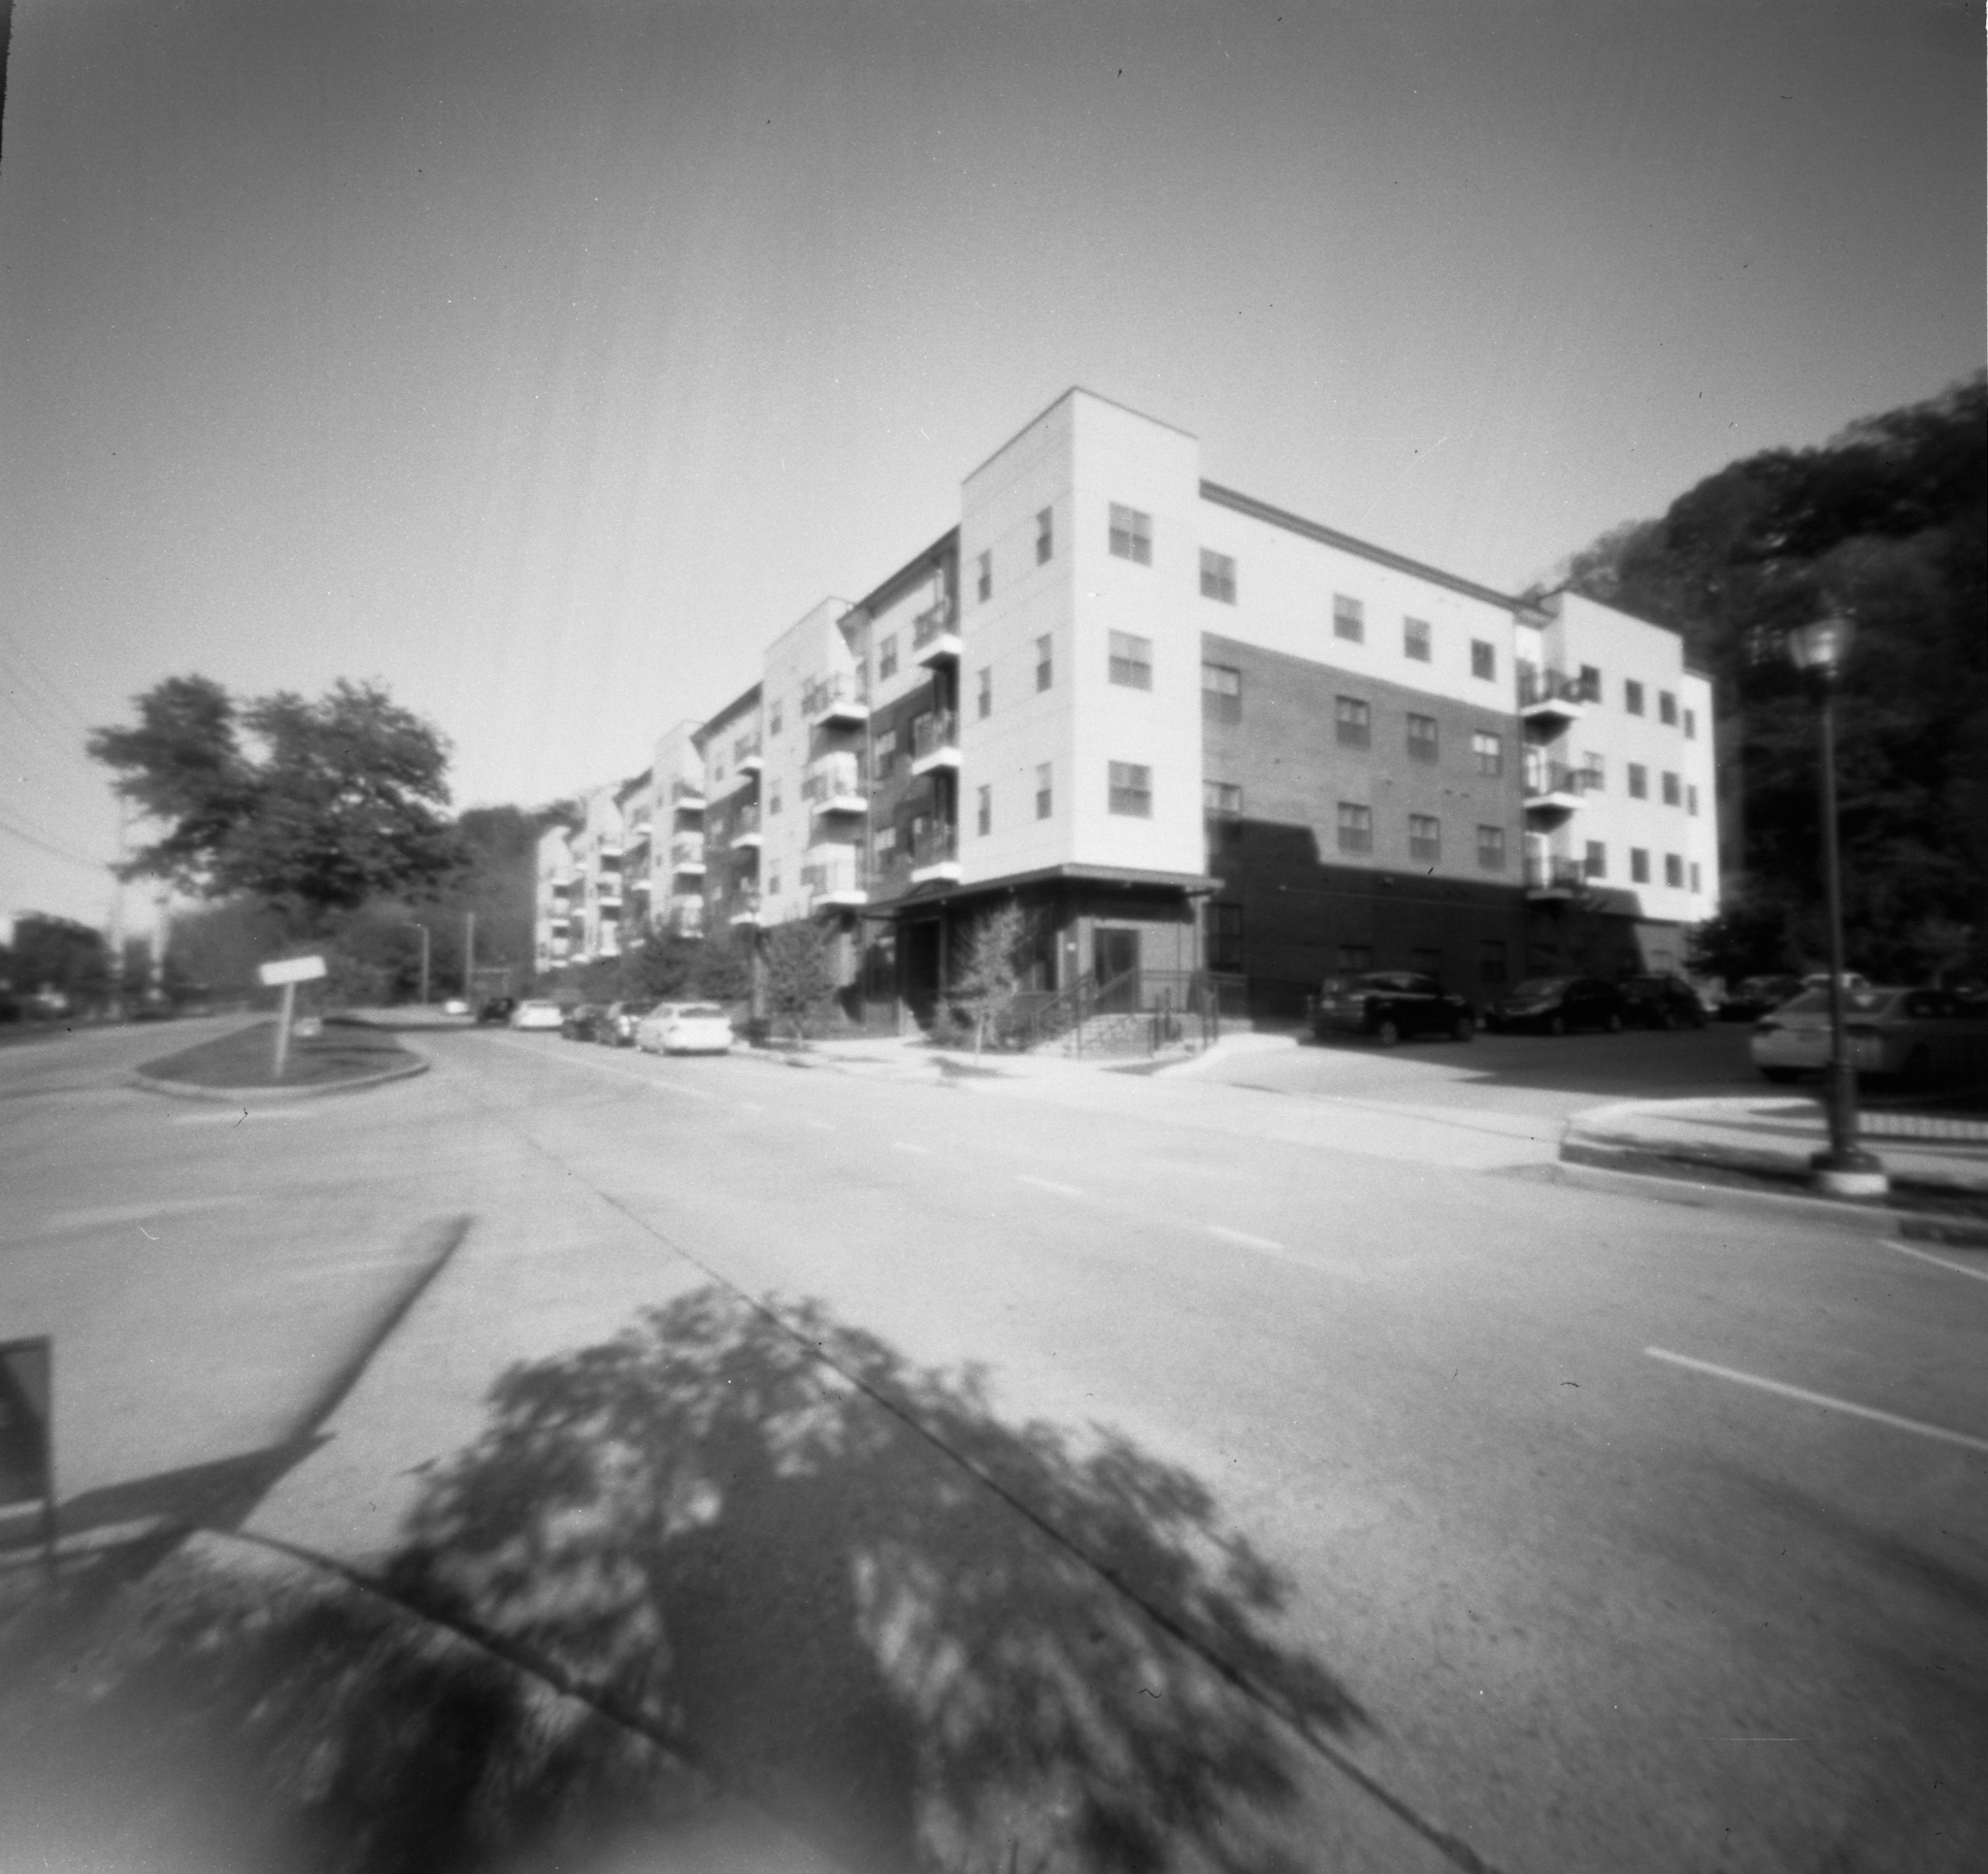
It was well over two years ago when I learned about Robert Hamm and his Hamm Camera's PinBox Kickstarter project. PinBox is a DYI pinhole camera that uses 120 film. The kit comes with precut and scored card stock and a precut aperture. I chose the f200 aperture. The camera is assembled with school glue and quick-dry glue. 3-D printed top and bottom winder keys are also supplied. After viewing the Kickstarter video, I decided to give it a try. After all, a 120 film camera that you can build fairly easily from heavy card stock would a great project for students at the elementary school where I used to teach music. However, when my PinBox arrived, I was crazy busy with putting on a school musical and sis not have time to even open the package. Then came 2019. Getting our house ready to sell and then moving to our downtown Chattanooga condo became priorities, and the little package was soon forgotten. Then came 2020, a global pandemic, sheltering in place, and time on my hands. “Let’s build a pinhole camera,” I said as I took the package out of a cabinet. And so I did.

In case you don’t know, a pinhole camera is a camera that lets light in through a very small hole instead of a lens. The idea of a pinhole camera reaches back to the very beginnings of photography. It likely was by accident that in ancient times someone discovered how light, when passing through a small hole in a wall, will project an upside down image on an opposite wall. Later, lenses were used to better focus the image, and the camera obscura was used a a drawing tool. Put light sensitive film instead of drawing paper in a camera obscura and . . . you have a film camera!

Pinhole cameras are interesting not only because they can be made out of a box or even a can, but also because the small size of the aperture (the pinhole) creates deep depths of field. Pinhole photographs can have an other-worldly look that can be quite attractive. However, this comes at a price:  long exposure times. First, some way of keeping the pinhole camera rock-steady is essential, and this means a good tripod is essential. Second, calculating exposures can be very tricky. Simply taking the aperture size (f200, for example) and then using either Sunny f16 or a light meter to calculate the exposure time will not work with pinhole photography. Why not?

The answer lies with a certain film characteristic known as reciprocity failure. Reciprocity failure is a film's inability to respond to very low levels of light. While every film is different, most films require extra exposure over what your meter indicates. Fortunately, most films come with reciprocity failure information with instructions on how much exposure compensation the film needs. With color films, not only will they need exposure compensation, they also will need filtration to compensate for color shifts. And if that isn’t enough, development times have to be shortened to preserve the highlights. 

This all sounds quite complicated, and I felt like a fish out of water as a loaded my newly bicultural PinBox camera with a roll of Kosmo Foto Mono 100 (a b&w film I quite like). So, thinking that “There's an app for that!,” I checked App Store for some help. Sure enough, I found lots of apps, but the one that seemed to be best is a paid app ($2.99) called Pinhole Assist. Not only does it serve as a light meter, but it had a built-in database of films and their reciprocity failure calculations. Once you have selected the film you are using, it will add the needed exposure compensation to the given time. It will even work with your smartphone's timer to tell you when to close the shutter.

With the Pinhole Assist app, my tripod, and the loaded PinBox camera in hand, I thought I was ready to go. However, I had one more problem to solve:  how to mount the PinBox on my tripod. The little cardboard camera does not have a tripod mount. Channeling my inner MacGyver, I found my smartphone tripod attachment, mounted it on my tripod, and used it to clamp the PinBox onto the tripod. Yay! Now let’s go get some pinhole pitchas! I used the PinBox outside my condo building, at a nearby park with a large outdoor art sculpture, and at a well-known waterfall along the Cherohala Skyway. 

While using the PinBox  I soon noticed some difficulties. First, my DIY tripod mount was flimsy at best. Just pulling or pushing on the little cardboard shutter would move the camera, and when I saw the resulting photographs the effect of camera shake was evident in most of them. The PinBox will require a better tripod setup than what I currently have or can even imagine at the present. Furthermore, somewhere along the way I lost the 3-D printed take up side bottom winder key, and the result was that the film did not wind very tightly and some frames had overlap. Overall, it was a little frustrating using the camera while knowing that I was very possibly wasting time and film.

Ugh! Camera shake. 

One final problem which I will own is my choice of developer. Normally I like using Cinestill's Df96 Monobath with Kosmo Foto Mono 100 (which, of course, is actually Fomapan 100.) But I was not aware of the need to shorten the development time when making long exposures, and I couldn’t have done so anyway with Df96. As a monobath, it tells itself when to stop developing before the fixer takes over. So my negatives have some blown out highlights for sure.

Blown out highlights and frame overlap.

Frankly, I was surprised to see anything on my negatives. But sure enough, I had images. Because I do not plan to make darkroom prints of any of these shots, I decided to go ahead and scan them. Most frames are forgettable, but with minimal exposure tweaking in Lightroom I was able to get some images which aren’t too bad. 


The question now is: Will I use my PinBox again? At the present the answer depend on two things. 1. Perhaps Mr, Hamm will send me another bottom winder key, and 2. I have to make a way to eliminate camera movement. Film is too expensive to waste , and I have better medium format cameras that I don’t use enough. For now my Pinbox will remain a pinhole possibility.

Tuesday, November 17, 2020

UJC Podcast #27: Autumn to the Max(xum)!

It's that time of year when the seasons change and nature puts on a display worth capturing. If you live in the Northern Hemisphere, then Autumn may be happening right outside your window. Now is the perfect time to capture nature's impressionism period before the fall colors fade to winter grays. Kevin have been doing quite a bit of color shooting lately trying to capture those fleeting autumn colors, and he has some tips on how to make keeper fall photographs.

When the sunlight is coming from your side, be sure to manually override your exposure by +1 stop.
Film:  Kodak Gold 200.

When shooting close ups of autumn colors, the diffused lighting on a cloudy
day makes the colors pop and reduces the contrast.
Film:  Kodak Gold 200.

I actually arranged these leaves to create this autumn portrait. Don't be afraid to move things around
to get the composition you want, because five minutes later it won't look the same anyway.
Film:  Kodak Ektachrome E100.

Neighborhood autumn yard decorations come out once a year and may not reappear next year.
Capture them while you can!
Film:  Kodak Ektachrome E100.

Lately Kevin has been noticing that his eyes aren't what they used to be. Aging eyes can be a real problem for the photographer, and Kevin's eye doctor says that while what is happening is perfectly normal, it is not going to get any better. Therefore, Kevin has decided to make the move to using an autofocus SLR camera for most of his 35mm photography. It just so happens that he already owns a Minolta Maxxum 7000, the world's first successful autofocus SLR cameras, so listen as he explains why he chose this particular cameras and why he felt he needed a second one. Even though this 1985 era camera has been superseded by many subsequent models from not only Minolta, but also Nikon, Canon, and others, it's low price on the used market makes it a superb value for today. 
A tandem of Maxxums! 

Lots of buttons! Function buttons on the left, and
up/down selector buttons on the right. The shutter
button is touch-sensitive to activate the meter.

Another set of up/down buttons placed perfectly for my left hand thumb.

You can listen to show #27 here:  

As always, we love to get feedback from our listeners. You can send comments, questions, advise, and stories in written or audio from to unclejonesyscameras@gmail.com, or you can post or comment on our Facebook page, which can be found at @UJC Podcast. Also, we would love for you to follow us on Instagram @UJCpodcast as well. 

Happy Shooting!


Saturday, October 24, 2020

Stupid Stupid Internet

We are experiencing technical difficulties . . . 

If you happen to scroll through the previous posts here on the Uncle Jonesy's Cameras Blog, you quickly will discover a problem with most of them:  no photos where there should be photos. The following is a quick explanation:

When I first created the UJC Blog, I opened a Google account just for Uncle Jonesy's Cameras. That is why our email address is "unclejonesyscameras@gmail.com," of course. However, at the time when I created the UJC Blog, I was employed as a music teacher by a school district that used the Google education platform for it's email and cloud storage. I found that trying to switch back and forth between my school Google account and the UJC Google to be difficult at best, so I just gave in and used my school Google account for the blog. Furthermore, as the "author" of any post I wrote, I used my school Google email as well. Kelley, on the other hand, used a personal Google account for the post he authored.

So, as you may know, I retired from my teaching position in July. My school email remained active until the end of September, when it was turned off. I did not anticipate what would happen to the UJC blog when that happened. First, all the photos in the posts I wrote were gone. Second, I was no longer able to sign into the account to post or edit. Great. Just great.

So, I asked my school IT to turn my account back on so that I could fix the problem. After some searching on the internet, I thought I knew how to do it. I logged back in and added my personal Google account as both an author and an admin. Then, I removed my school Google account from the blog. The help I found on the internet assured me that the new admin account would "inherit" all of the blog posts. I tested everything, and everything looked good. 

That is, until my school Google account was turned off once again. I can log into the blog with my personal Google email, but once again all of the photos I posted while using my school Google account are gone. All of them.

I promised my school IT that I would not ask him to turn on my school account again, so that train has left the station. And unless any of you Google-savy readers have a suggestion for me to get those photos back, I will have only one option, and that is to replace as many of them as I can one by one in each blog post.

So, please forgive the current sorry state of the UJC blog. I will do what I can to repair the damage, but it will take quite some time. In the meantime, all new posts will work just fine.

Thank you so much for your patience, and thank you for reading the UJC Blog.

Kevin

Tuesday, October 13, 2020

UJC Podcast #26: Make That Movie - Test Those Lenses - Buy This Zine

Recently both Shutter Brothers got together in the same room to share with each other what each has been up to lately with their cameras and photography, so once again we turned on the UJC microphone and captured Kelley and Kevin's thoughts for you to enjoy. The last time we did this Kelley was getting ready to shoot some 8mm movie film in his Bolex camera, and he takes the first part of the show to share some of his experiences with double 8 movie film and what he has learned from it. 

Double 8 movie film is 16mm wide, but an 8mm camera only
shoots half of the film on the first pass and the other half on the
second pass. Then, when the film is processed, it is slit into it's 
two 8mm halves and spiced together to make one 50' movie.

Kelley holds his finished 8mm movie!

Meanwhile, Kevin has been testing a pair of Russian-made lenses that came with his two Zorki cameras. While we all love to talk about cameras, it is important to note the a camera's lens has the most significant impact on the quality of the image. So what do you do when you suspect a lens is not performing as well as hoped? Answer:  Put it to the test. Kevin explains how he conducted his lens test, and you can see some of the results right here in the Uncle Jonesy's Cameras Blog.

These Russian-made Zorki cameras came with Russian-made
lenses. Are they any good?

Finally, Kevin reviews a colorful photo zine from Matt Murray. Matt is the person behind one of our favorite film photography podcasts, Matt Loves Cameras. The zine is titled Every Summer, and Kevin's company sits proudly on his coffee table. Not only is the photography top notch, but Kevin finds Matt's style of decluttered composition very inspiring. You can get your own copy of Every Summer by clicking here.

Matt Murray's fabulous zine is not only a pleasure to look at,
but also Kevin finds it to be very inspiring!

You can find the Uncle Jonesy's Cameras Podcast on your favorite podcast provider, or you can click here to listen. We'd love to hear from you as well. You can send us emails and voice memos to unclejonesyscameras@gmail.com.

Happy Shooting!

Thursday, September 24, 2020

A Tale (and Test) of Two Zorki's

Ok, I'll admit it. I'm obsessed with my two Zorki rangefinder cameras, especially the older one, my little Zorki 1. Come to think of it, I'm quite fond of my Zorki 4 as well. Both of these cameras have a special place in my heart and in my camera arsenal, and I've written about them before in this blog (see links above and below). I love seeing them sit on my window sill, and I love putting film in them and making photographs with them. 
They are fun to use, not because they are fancy or loaded with features, but quite the opposite, actually. Using them connects me with the basic functions of a camera:  shutter speed, aperture, focus, and depth of field. I sometimes feel as it I have stepped back to an earlier time in photography when photographers learned to think carefully and quickly about composition and exposure to avoid missing shots. I am not fast with these cameras yet, but the more I use them the more comfortable I get. 

If you are a regular reader of this blog, you will know that Zorki was a brand name for a series of cameras manufactured in Russian beginning around the time of World War II. They were meant to be copies of the very fine (and very expensive) German-made Leica rangefinder cameras that Russians citizens could no longer get because of the war. My Zorki 1 greatly resembles a Leica ii, and my Zorki 4 is loosely based on a Leica iiic. Of course, the Leica's were far better cameras with outstanding optics, and today Zorki's are dirt cheap compared to the investment one must make to own a Leica. Ironically, I used to own a Leica iiib beginning back in the 1980's until it my house was broken into in 1994. Maybe someday I will own one again. Maybe not. However, for now I have these two Russian copies to play with. 

If I had to pick one really good thing about these cameras, it would be that they actually work. I have had to made some repairs on the shutter curtains of the Zorki 1, and I have had the Zorki 4 shutter completely overhauled by a professional camera repair person, but hey, eventually you have to service all vintage cameras including Leica's. so functionally, my Zorki bodies work fine. But what about the lenses?

In my experience so far, the quality of theses Russian-made lenses are the most significant difference between the Leica and the Zorki. My early experiences with both cameras produced results that ranged from mediocre to out-of-focus bad. It was enough to make me question actually using them until I was able to afford better lenses. However, I decided to try again and do something along the lines of a test. I decided to try shooting subjects at difference distances with different apertures to see what the lenses can do under the best of conditions. Also, I strove to make sure that I was focusing carefully and holding the camera steady to get the sharpest photos possible. 

I started with my Zorki 1. It is equipped with a Russian-made Industar 22 50mm f3.5 collapsable lens that is a copy of the German-made Leica Elmar lens, a very fine lens indeed. I loaded the Zorki 1 with some Ultrafine Extreme 100 film and looked several walks around downtown Chattanooga on sunny days, which gave me easy-to-calculate exposures. I shot subjects at close distances, and subjects at infinity. I developed the film myself and made some prints at Safelight District Community Darkroom, where I am a member. I decided to make prints of only the best shots.

The best way to describe what I found is this:  inconsistency, especially with distant subjects. Some photos of our river bridges (a favorite subject of mine) were just not sharp, even though I set my focus at infinity. Using different apertures, like f8, f11, and f16, did not make a significant difference, either. However, a shot of our local aquarium from a distance was much better and certainly acceptable. Photographs of subjects at a medium distance (about twenty feet) also were reasonably sharp. 

The Tennessee Aquarium. Reasonably sharp
at infinity, unlike other photos at similar distance.

Universal Joint, a local pub. Good focus from about twenty feet.

Where this lens really shone was with shots with five to ten feet. I made several photographs of a public art exhibit called Passages, which commemorates the tragic removal of the Cherokee Nation from Tennessee and Georgia in the 1830's. There are several large ceramic disks that tell of the history of the Cherokee, and I wanted to see how well the Industar lens would render the details. The resulting prints are very sharp indeed! 

Strength of Life, Passages, Chattanooga. I was surprised at how
sharp the details are. Good job, Industar 22!

Warrior Birds, Passages, Chattanooga. I'd take this level of
sharpness from this lens anytime.

I am left with several conclusions. First, it is possible that the built-in rangefinder on the Zorki 1 needs some adjustment. Perhaps the lens is not really at infinity when I set it to infinity, but such a condition would show up more on close up, I would think. Second, I should try again with a tripod to achieve maximum control and rule out "Shaky Hand Syndrome." Putting a 35mm rangefinder goes against the very purpose of these cameras, which was mobility and spontaneity. Third, I would love to try a better lens. I have given thought to either selling or trading some cameras to get a genuine Leica Elmar. Anybody out there have one I could at least try out? 

Lastly, I'm not giving up. I'm going to continue to find out what can this camera and lens can do best and/or how I can improve my skills to make better shots with it. Maybe it will make me a better photographer along the way. 

Next time:  My Zorki 4.

Happy Shooting!


Wednesday, September 23, 2020

UJC Podcast #25: Interview with Mark Gilliland

©2020 Mark Gilliland
Today I recorded an interview with one of my favorite people in the world, who just happens to be an outstanding professional photographer. His name is Mark Gilliland, and like Kelley and me, he is a Chattanooga native. Mark is one of those rare people who make a living doing what he loves to do:  capture beautiful images with a camera, and in his thirty plus years he has worked in just about every field of professional photography including news, sports, features, fashion, food, real estate, and wedding photography. His work has earned him awards from Nikon, the Associated Press, and the Tennessee Professional Photographers Association. When he is not shooting for assignments, he shoots for himself, capturing patterns of light, color, lines, and shapes with an uncanny eye for beauty. His photographic art hangs in museums in Georgia and Arizona. 

I first met Mark when both Kelley and I were just beginning to return to film photography. Mark has had to put up with my constant questions, and he always more than happy to answer them. He truly loves what he does, and I find that and him incredibly inspiring. I hope you get some inspiration from our conversation. I highly recommend that you investigate his work, some of which can be see at www.markgillilandphotography.com. He is a frequent poster on Instagram and can be found @magill3179.

Happy Shooting!