Friday, February 15, 2019

Is Your Light Meter "Puttin' the Shuck on You?"


Howdy gang.  Shutter Brother Kelley here with another dive into the cookie jar of film photography topics.  Let’s face it.  If we are engaged in some form of serious photography, then I’m sure that most of us, if not all have at one time or another used a light meter to arrive at the correct exposure setting before pressing the shutter.  There is even a good chance that some in our hobby would not even consider using a camera that did not have an on-board light meter.  No doubt these light meters have come a long way since they first began showing up on cameras many years ago.  And certainly, with the re-introduction of Kodak Ektachrome slide film, I am sure that we all will be relying on our light meters more.
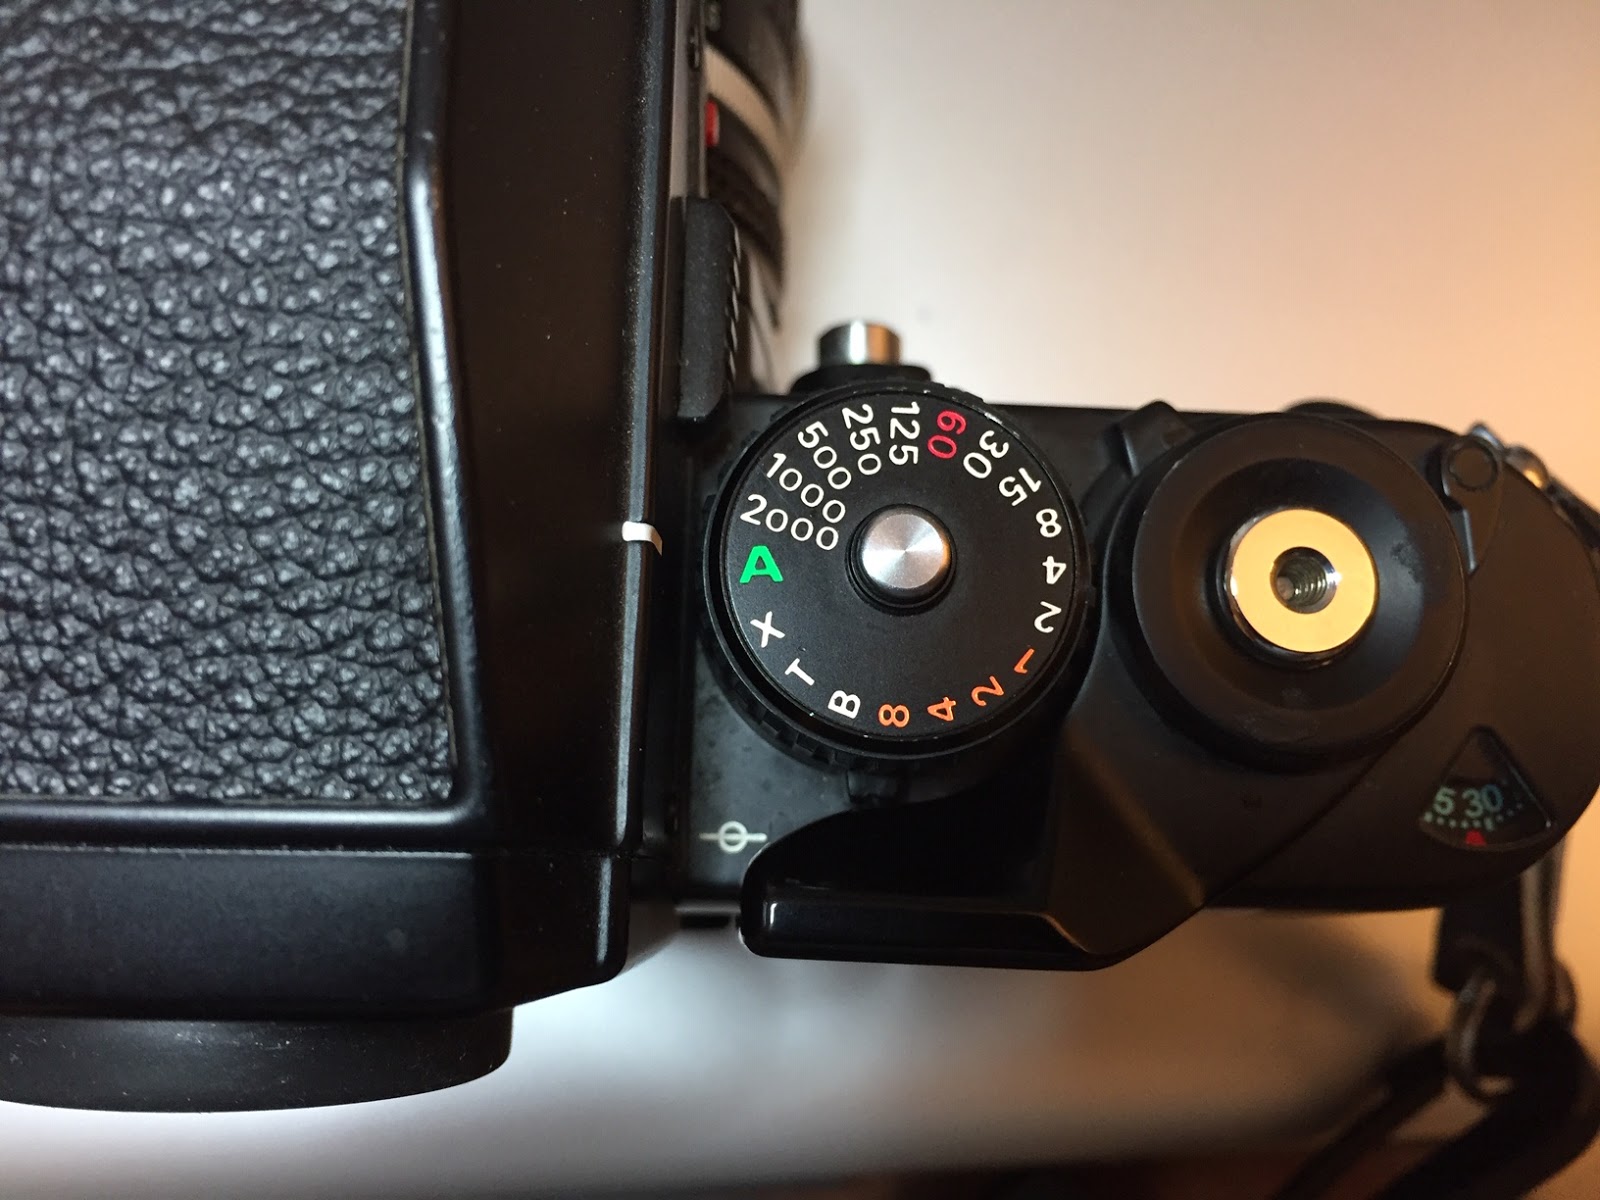
 
Is your light meter "giving you the business?"

Our Uncle Jonesy (for whom this blog, and our podcast is named) had a phrase he used when someone was giving him less than reliable info on a particular subject, or even going as far as intentionally misleading someone. If Kevin or I said to him that someone told us this or that, he would reply, “Well, that person was puttin’ the shuck on you.” On the old television series Leave It to Beaver, Wally would warn his little brother that someone, usually Eddie Haskel, was “giving him the business.”  So now we ask the question, is your camera's light meter giving you an accurate reading?  Or, as Uncle Jonesy would say, “Is that thing puttin’ the shuck on you?”  How do we really know if our light meters are the accurate measuring devices we trust them to be, or are they just giving you the business.  This is a truly legitimate question in light of the fact that most of us shooting film are using cameras that are at least 15 years old.  Some, like my trusty Nikon F3HP are much older.  The truth is, you can line up three or more vintage 35mm SLR’s, meter a scene with the same exposure settings, and you will get three different results from each camera’s meter.  What do we do now?


First, let’s remind ourselves just what a light meter is supposed to do.  A light meter measures the average amount of light in the scene you have chosen to photograph, and gives you the correct exposure setting based on a known standard.  We refer to that standard as 18% gray.  When you frame your subject, your meter takes the bright areas of the frame, and the dark areas of the frame, along with everything in between, and creates an average light value which is our known standard of 18% gray.  This value is then compared to the exposure settings you have selected on your camera, and lets you know if you have the adjust those settings.  If you are using an automatic exposure mode on your camera, the meter selects the correct settings for you.  If the light meter on your camera is accurate, you are good to go.  If it is not accurate, well, you know what Uncle Jonesy would say.

 
My 18% gray card.  What your meter wants to see

But don’t worry.  Here is a quick and easy way to determine the accuracy of your light meter, and, if it is not accurate, calibrate it so you can restore trust.  We can do this because we photographers also have a “known standard” for exposure, and it is called “Sunny 16.”  More than likely, you have heard Kevin and I discuss Sunny 16 on our podcast, or perhaps you have read or heard about it from another source.  It goes like this.  On a bright and sunny day with no clouds with the sun behind your back, you simply set your shutter dial to match the ISO rating of your film, and set your aperture to f16.  For example, if you are shooting Kodak Ektar (100 IS0), set your shutter to 1/125, and the aperture to f16.  This will be the correct exposure setting on a bright sunny day with the sun behind you.  Your camera’s meter, if it is accurate, should confirm this.  So let’s test your camera’s meter to see if it is giving you accurate information.  To do this, first you need a bright sunny day with no clouds.  You will also need an 18% gray card.  They are available from most photographic outlets.  I purchased mine on Ebay.  Remember that your meter averages the light it sees and gives you the exposure settings to make your subject 18% gray.  Using your normal lens (50mm), choose an ISO setting (I always use 100), and manually set your camera exposure settings accordingly (shutter set to 1/125 sec, aperture set to f16).  Now look through the viewfinder and aim your camera at the 18% gray card which you have placed in the direct sunlight and check your meter.  It should be telling you that you have selected the correct exposure settings.  If not, adjust the ISO setting on your camera until the meter tells you your exposure is correct.  Remember: we already know the correct exposure settings for a brightly lighted scene with the sun behind you.  Your camera’s meter should give you the same results.  If it isn’t, adjust your ISO setting until it does.  Now your meter is calibrated to our known exposure standard of Sunny 16.  Hopefully your meter required no adjustment, which means it is 100% accurate.  This, however, is rarely the case, especially with older cameras.  I have tested each of my 35mm SLR’s on the same day with a bright sunny sky.  Each of these cameras required a different degree of adjustment.  In order to remember how much I have to alter the ISO setting, I have placed a small label on each camera that tells me how many stops I have to add or subtract from the film’s ISO setting.  My Minolta X-570, for example requires me to add one stop to the ISO, meaning that I now shoot Tri X 400 at ISO 200.  My Pentax Spotmatic, however, requires me to subtract 2/3 of a stop.  Regardless of the amount of adjustment needed, I know that my cameras are now calibrated to Sunny 16.  Neat!
Now I can handle the truth


I do make the claim that this is a scientific way of calibrating your camera’s light meter, not does it take the place of having your camera serviced by a qualified technician.  It does, however, provide a reliable way to evaluate the information your light meter provides.  And, if you are like me in that I shoot with several different cameras, this method does allow me to bring each camera into the same consistent standard (Sunny 16) that I use in my photography anytime I am shooting without a meter.  So next time you get one of those bright, cloudless, sunny days, take your camera outside with your 18% gray card and see if your light meter is telling you the truth, or, as Uncle Jonesy would say, "puttin’ the shuck on you."  

Saturday, February 9, 2019

UJC #10: A Community Darkroom Comes to Chattanooga!

The Shutter Brothers are back with a special show about the opening of a brand-new community darkroom in Chattanooga, Safelight District. It's founders, Tori Fyfe and Jet Smith, sit down for a chat with Kelley and Kevin about how they came to have such love for analog photography and how that led them to building a community darkroom for Chattanooga.

Safelight District will have it's grand opening on Friday, February 22, at 7:00 pm, and the public is invited. There will be music, art, refreshments, and, of course, tours of the darkroom facilities. It will be a great opportunity for members of the Chattanooga area analog photography community to meet, greet, and share.

Tori and Jet have labored over Safelight District ever since they conceived the idea of a community darkroom back in 2017. The darkroom facilities will include three 35mm and medium format enlargers and one large format enlarger. They also have all the tools needed to make handcrafted analog prints. For people who have little or no experience in using a darkroom, Safelight District will be offering workshops on film developing, printing, and other analog photography topics as needed. Tori and Jet also have created a small gallery space for exhibitions.

We believe that the opening of a community darkroom will be a major boost to the analog photography community in the greater Chattanooga area and could well be the hub of activities for those of us who are coming back to film photography or are interested in taking up the hobby. We are very grateful to Tori and Jet for all the hard work they have put in over the last two years, and we wish them all the best in this exciting endeavor.

Please visit Safelight District's website at https://www.safelightdistrict.com, and you can reach Tori and Jet by email at safelightdistrict@gmail.com.

As always, you can send questions, comments, and tips to Kelley and Kevin at unclejonesyscameras@gmail.com. Please visit us on Facebook at https://www.facebook.com/ujcpodcast/, where you also can leave questions, comments, etc. Oh, and now you can find us on Instagram @ujcpodcast.

Happy Shooting!


Wednesday, February 6, 2019

UJC # 9: Local Film Lab Found, Community Darkroom Opens, and a Keeper Rangefinder!

The Shutter Brothers (Kelley and Kevin Lane) are back with another podcast show packed with news and information about film photography. First, Kelley talks about find (quite by accident) an actual local color film developing lab, Fast Foto.
It's located in Dalton, Georgia just a few miles from Kelley's home. We both thought that there were no one-hour film labs left in the greater Chattanooga area, so this discovery is both a surprise and a delight. Kelley relates his happy experience with Fast Foto and talks about how he hopes that labs like it will get enough business to remain open.

Next, Kevin announces the opening of a Chattanooga's first community darkroom, Safelight District, which is the project of two young film photography enthusiasts, Tori Fyfe and Jet Smith. Safelight District will have it's grand opening on Friday, February 22, at 7:00 pm. It will be a fun evening of getting to see the darkroom and meeting fellow film photographers, so if you live near Chattanooga, Tennessee, you definitely should check it out. Also, Kelley and Kevin will be interviewing Tori and Jet very soon, and you will hear that interview on the next UJC Podcast show. Stay tuned!

Kevin continues the show with a review of a book, Glass, Brass, and Chrome:  The American 35mm Miniature Camera by Kalton C. LaHue and Joseph A. Bailey.
Published in 1972, the book provides an anecdotal history of the rise of 35mm photography in American, sparked by the German Leica and Contax cameras, and each chapter breaks down the progression of American manufacturers who made 35mm cameras for the masses. You probably have heard of Argus and Kodak, but you may not know about Perfex, Universal, Bolsey, and several other companies who made and sold 35 mm cameras in America. Glass, Brass, & Chrome chronicles the format's history in America up to the introduction of Kodak's Instamatic 126 cartridge cameras, and their wildly successful sales (millions of cameras sold) along with the rise of Japanese and European single lens reflex 35mm cameras completely killed off all American production, and so it remains today. If you enjoy history and want to learn more about American camera makers, you will greatly enjoy this book.

Of course, much of the 35mm film that was shot in the "golden age of 35mm photography was slide film, and that meant that photographers needed gear that would allow them and others to view their photographs.
Slide viewers were perfect for one or two people to view slides and also were useful for editing, sorting and ordering slides for later projection. Kelley recently came across one of the best viewers he has ever seen, the Argus 693 Electromatic, which is powered by AC current and features a bright bulb, large viewing screen, and automated slide changer. With the return of Ektachrome slide film, finding a viewing like this would be nice indeed.

Speaking of 35mm cameras from Japan, Kelley talks about his favorite rangefinder camera, the Canon P. The Canon P
was an approximation of the Leica 35mm camera (both use the 39mm lens thread mount), but this camera stands on its own for build quality and features. It's solid, fits well in the hands, and the lenses are sharp. Kelley thinks that the Canon P could easily be the go to 35mm rangefinder for anyone who can't dish out the big bucks for a Leica.

Finally, we read some listener email. Speaking of email, we want to hear from you so bad that we are going to have a giveaway. Kelley recently found a very clean
Canon Stylus 120 at his (secret) neighborhood flea market and bought it for the whopping total of $1.00. We are going to send this camera to a lucky listener, and all you have to do is send us an email. We'd love to know something about your love for film photography and how you would use this camera. Kelley and I will pick at random one email for the winner, so please write us or send a voice memo to:

unclejonesyscameras@gmail.com.

You can find the Uncle Jonesy's Cameras Podcast on any of your favorite podcast places, or you can click on the link below:

https://unclejonesyscameras.libsyn.com/rss

As always, we hope you will subscribe so you won't miss a show. Finally, please like us on Facebook and Instagram (@ujcpodcast).

Happy Shooting!

Sunday, January 20, 2019

Who Needs Control . . Test a New Camera and Film Stock at the Same Time!


As you know, whenever any kind of test is given to determine the level of performance of an object, or person, or anything else, there is the element known as “control.”  Control is the pre-determined standard that the subject of a performance test must measure up to in order to meet a certain level of performance.  When this principal is applied to the testing of new film stocks, one level of control would be to use a camera that is familiar to the user, and where its level of performance is already known.  However, as usual, I have blown the concept of “control” completely out of the water by testing a new film stock , and a new camera (that is . . new to me) at the same time!


I recently acquired a Petri 1.9 Color Corrected Super rangefinder.  Though I love using rangefinders, I have never come across this, or any other camera made by Petri.  They were a Japanese camera manufacturer that started out in 1954 making 35mm rangefinder cameras in the general spirit of Leicas.  The quality of those early cameras was pretty good.  Later on, as the company began making SLR’s and other rangefinder models, the quality would suffer, and the Petri name would be associated accordingly.  The Petri 1.9 Color Corrected Super falls in to the earlier category, making its appearance in 1958. This smart looking rangefinder camera is equipped with a 45mm 1.9 “color corrected” lens (a marketing reference to highlight the fact that the lens elements are coated), and a leaf shutter that ranges from 1/500 to 1 second, plus B.  Other features include a cold accessory shoe, PC connection, parallax correction viewfinder with green rangefinder patch, and a self-timer.  Upon holding it in my hands, I was immediately impressed with the build quality of this camera.  The film advance worked smoothly, the exposure controls were easy to operate, and the Copal leaf shutter was very quiet.  The viewfinder was bright, and the rangefinder patch was easy to see.  I couldn’t wait to shoot with this camera, so I decided to use it to test a new film shock.  Who needs control, right?


The new film stock is the Kosmo Foto Mono 100.  My brother Kevin had given me a couple of rolls of this black and white film for Christmas, so I thought I’d put this Petri 1.9 (which I had just received back from having it serviced) to good use.  Immediately I was impressed with the packaging.  Its cool design was a nice change from the traditional packaging that we have seen for decades.  As far as the film goes, I was already aware of two things.  I knew that this film stock was actually rebranded Fomapan 100.  I also knew that it had received some less-than-stellar reviews.  But it was free film, so on a rare sunny weekend here in northwest Georgia, I decided to test both the Petri and the Kosmo Foto Mono 100.  I began with a visit to a local flea market.  Shooting this film at box speed, and using sunny 16 for my metering, I wandered through the many rolls of tables filled with merchandise and clicked away.  Since I test cameras here often, folks at this flea market are used to seeing me making photos.  The Petri operated fine and the shutter was quiet as a mouse.  It does take a bit of getting used to focusing the lens, especially if you shoot SLR’s most of the time, however, the rangefinder patch with its green background was easy to see.  I finished up my test with a photo walk in downtown Dalton.  My wife and I recently moved to a little town north of Dalton called Varnell, so it was good to have some time to walk around Dalton’s historic downtown area.  I always seem to be a little less noticeable to others when shooting with a rangefinder than with a big and noisy SLR, so it was nice to shoot with this camera as I moved around the downtown area. 


I processed the Mono 100 using D-76 diluted 1:1 at 68 degrees for 8 minutes and 45 seconds.  Again, I was impressed from the moment the film came off the reel.  The negatives had a good look to them, and the development time seemed to be right on the mark. It was when I prepared to scan the negatives that I began to see a future for more use of this film stock.  These negatives lay perfectly flat in my scanner's film holder.  This is such a huge plus, since my favorite b&w film, Kodak Tri X 400 requires me to take the extra step of winding the film backwards after processing to reduce the extreme cupping that becomes such an annoyance when trying to scan the negatives.  Seeing my images on the monitor after the scanning process drove in the winning run.  These pictures were nice and sharp with a bit warmer tone and less contrast than my other favorite b&w film, Eastman XX 5222.  The film’s latitude seems to be wide (or I’m getting really good at using sunny 16!). Even though I had heard others complain about the grain, I was very pleased with what I saw in my images. 


In a time when the release of a new film stock is a rare occurrence, I am excited to see Kosmo Foto get into the film marketing business, even if the film is rebranded from another manufacturer.  This practice has actually gone on for a long time in the film industry, so it shouldn’t be a turn off.  The way I see it, If this is what it takes to bring new film stocks to the public’s attention, then I am all for it, especially with a new generation of film photographers who might be attracted to innovative promotional techniques and eye catching packaging.  Of course, it certainly helps that the film stock is of an acceptable quality, and I certainly think this Mono 100 meets that qualification. 


So there you have it.  If you come across a Petri 1.9 Super rangefinder camera at your favorite flea market or thrift store that is in good shape and for the right price, I certainly recommend giving it a try, especially if this your first foray into shooting with 35m rangefinder cameras.  And while your at it, consider giving this Kosmo Foto Mono 100 a try as well.  This could be your next favorite black and white film.


Now go get some pictures.

Wednesday, January 16, 2019

UJC #8: Dancing the Sous Vide Slide(s) & Exploring the Kosmo(s)

The Shutter Brothers are back with episode #8 with lots of fun and information about film photography, so load your camera and hop on board. First, Kevin talks about how a sous vide stick is a game changer for developing both C-41 (color negative film) and E-6 (color slide film). Your local grocery store (ALDI) may have one for sale, but you can always get one from the Film Photography Store.


Next, Kelley shares his happy experience with his Petri rangefinder and Kosmo Foto Mono B&W film. This film is the product of Stephen Dowling's Kosmo Foto website and brand. Kelley's review is very favorable, and you can get some of this film here (US) and here (Europe).


Finally, the Brothers read some listener letters and talk about the chances of Kodak bringing back more films in 2019, particularly Plus-X Pan 125.

You can find our podcast on You can find the show on iTunesGoogle Play Music, Spotify, and all of your favorite directories. And, as always, please subscribe to the podcast so you won't miss an episode.

We would love to have you become a part of the show, and you can send us your questions, comments, and tips to unclejonesyscameras@gmail.com. Write to us or send us a voice memo to play on the show. You also can comment on any of our Facebook page posts.

Thanks to all our listeners and readers. You are the reason why we make this blog and podcast!

Happy Shooting!

Monday, January 14, 2019

Cooking Up Some E-6

By Kevin Lane

When I got my first quality camera in 1980 (Minolta XG-1), I immediately began shooting slide film. It was an easy call, as Uncle Jonesy shot slide film exclusively, and old fashioned slide shows were THE way we viewed photos. It was very social; a bunch of friends would come over, there would be food, and we would fire up the projector and turn off the lights. As the years went by, I just kept on shooting slide film, mostly Kodachrome. When I got married and the kids came along, I documented it all on slides, and now I have hundreds of them in my closet.

Then Kodachrome went away, film in general became harder to find and process, and I made the move to digital. You all know about how I have returned to film photography in the last two years, shooting color and B&W negative film. But lurking in my freezer were five rolls of Fuji Sensia 100 slide film, which had expired in 2008. Having become quite comfortable developing my own color negative film with a Unicolor C-41 kit from the Film Photography Project Store, I thought it was time to try out Unicolor's E-6 kit for slide film. The process is nearly the same, the main difference being the addition of a 2nd developing chemical and washing steps after each developing stage. In the washing stages, the water should be at or near the developers' temperature of 100º F.

My first attempt at E-6 back in the summer was a fail because I misread the directions and had my temps too high. My second attempt a few weeks ago went better, but trying to keep the temps at specified levels for all the chemistry and washings was not easy. When I looked at the film, I really couldn't be assured that I had done it correctly. Some colors did not look right.

Then came my sous vide unit. In case you don't know (and I didn't until a few months ago), sous vide (French for "under vacuum" is a cooking method whereby meat is cooked while sealed in a bag and submerged under heated water. A sous vide stick heats and circulates the water, so that the meat is cooked slowly but uniformly. The stick can be set to a specified temperature and time. Photography hobbyists have been using a sous vide stick to heat developing chemistry to the proper temperature and keep it there until it is used.
1st developer is in the tank;
2nd developer is ready and 100º F
When a separate thermometer is used to measure the chemistry temps, you can determine just where to set the sous vide stick temperature to get the chemistry up to the correct temp. Using the sous vide stick this way takes away a lot of the guesswork and worry and helps enforce a uniformity and consistency in a developing workflow, and uniformity and consistency are the keys to getting better results.

Back in October I shot a roll of my expired Fuji Sensia in my Minolta X-700. The photos were mainly around the Chattanooga and eastern Tennessee area. Then in December I found my sous vide stick at ALDI for only $49.99 and took the plunge. I filled a plastic waste can with water, put my chemistry bottles and the sous vide stick in, set the temperature and let it do it's thing. I found that my chemistry gets to the needed 100º F when the sous vide is set to around 108º F, but room temperature and plastic vs. metal or glass bottles may change that for you. You have to experiment. Once I found it, though, I did not have to worry about my temps. And as for the washings, I would fill up my gallon pitcher with tap water, measuring the temp as it came out of the spout. I figured that temperature is not as critical for the water as it is for the chemistry, and the results back me up.
Nothing beats seeing slide film when it
comes out of the tank!

Speaking of results, here are some shots from the roll. If this is the result that I can expect from developing slide film at home, then I will be shooting a lot more of it in 2019, namely Kodak's newly released Ektachrome.

Add caption


Saturday, January 5, 2019

UJC #7: Goals, Gifts, and Gear (and Happy New Year!)

The Shutter Brothers (Kelley and Kevin Lane) are back with our best show yet (at least we think so!) We start the new year by discussing our photography goals for 2019, and we would love to hear about yours. Next, we answer a great listener question about how we choose what camera(s) to shoot on a given day. Our answers are quite different from each other which came as a bit of a surprise to us. If you have a lot of cameras, we would love to hear from you about how you choose a camera to shoot. Finally, we reveal our Mystery Christmas Gift Cameras. Independently, we each bought a camera to give as a gift to each other for Christmas, so now we discuss our experiences in shooting them.
Kelley's Minolta H-Matic
Kelley received a handsome Minolta Hi-Matic AF2, and autofocus and auto exposure point and shoot with a great lens, while Kevin got a Zorki 1c, which is an early 1950's Russian copy of a Leica II rangefinder. It was a merry Christmas indeed!

You can find our podcast on You can find the show on iTunesGoogle Play Music, Spotify, and all of your favorite directories, and we really hope that you will click the "Subscribe" button. That way, you won't miss any future shows. Most importantly, we would greatly welcome your feedback in the way of comments, suggestions, questions, tips, tricks, etc. You can email us at unclejonesyscameras@gmail.com. You can even record a voice memo on your smart phone and send email it to us to play on the show. We also have a Facebook page at @UJCPodcast. You can leave comments and questions by commenting on our posts there.

We would love for Uncle Jonesy's Cameras to become a community of film photographers, all sharing with each other and encouraging each other to keep shooting.

Happy Shooting! (and Happy New Year!)